

Hello fellow followers,
I’ve recently come across some colleagues who have yet to learn the basics of Indesign and here I am to help. One of the most basic skills of InDesign is inserting photos into boxes.
First: Make a document by going to File > New > Document. At this point you can pick out the purpose of your publication and the dimensions which best fit your needs.
Second: Go over to the Rectangle tool on the left toolbar of the program > click it > click it again and drag it over the document to form your rectangle of desired size.
Third: Open the desired photograph you wish to use (for the sake of this tutorial I will be using a photo of the Rostra which stood in the Roman Forum). Click Edit > Copy (command + C).
Refer to the photo below.

Fourth: Head back over to you InDesign document and right click inside of the rectangle you created in step 2. When the menu of options appears, you should click “Paste Into” so that your photo takes the shape of the rectangle you’ve created.

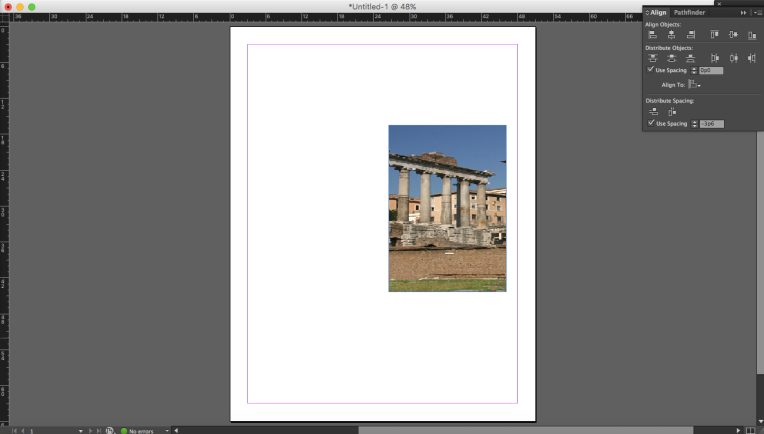
Fifth: The photograph may appear like this (refer to the photo below) or other ways that just don’t please your artistic means. There is the perfect way to fix it that does not require you to be an expert in photograph resizing (and won’t leave your photo looking like it was put in a washer and dryer – all shrunken and stretched out at the same time.)

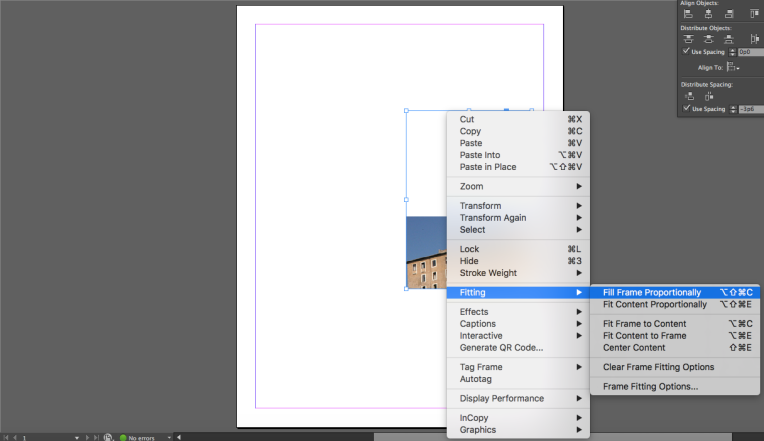
Sixth: The magic step. Click the rectangle one > Right click inside the rectangle > Fitting > Fill Frame Proportionally OR Fit Content Proportionally (whichever best suits your means.) In my case, I will be using Fill Frame Proportionally.


I believe that every draft of any design project needs to be made as though it were the final one. That being said, properly inserting photographs into a document is a very important skill that can be easily mastered.

